E30 Clear Side Marker Lens
BMW purists are known for loving their amber and red side markers and turn signals, but with time a new generation of enthusiasts have evolved growing up in the era of fast and furious and tuner vehicles. The earliest model E30s used a different style side marker, which was originally used on the E28.


After a request and research, I found that this style side marker lens was not offered in clear. I believe this is due to the original design, which used a two piece construction to create the diffusing profile.
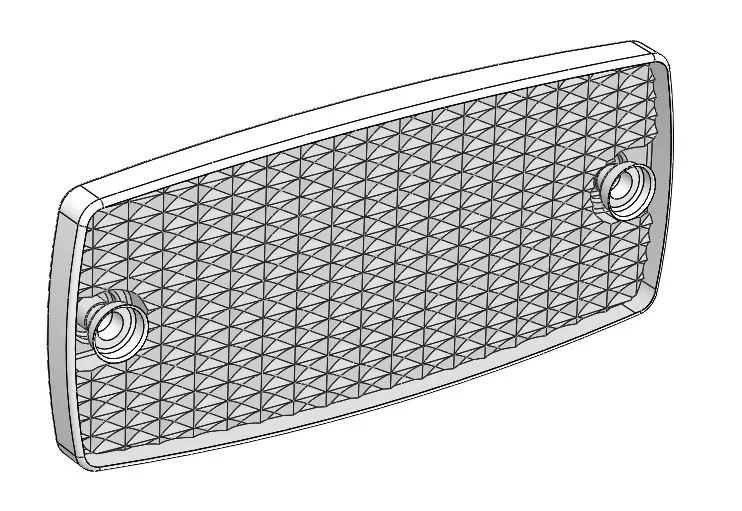
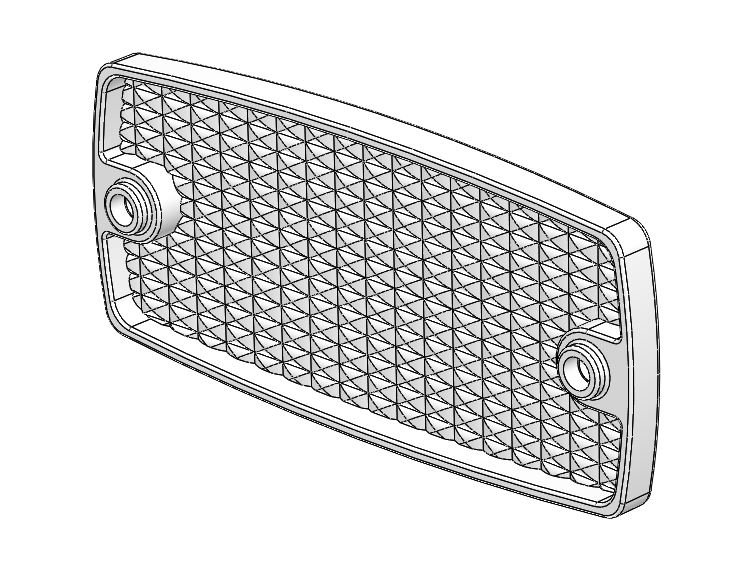
This two piece construction does not allow for the typical process of making a mold of the original lens, so the lens was recreated in CAD influenced by the diffusing profile used on the front turn signal lenses.


The CAD data is then exported and prepared for resin 3D printing. Resin 3D printing uses liquid resin that cures when exposed to UV light. While resin printing is more elaborate, it is able to print much thinner layers compared to standard 3D printing, making it great for high detail and clean prints.
One aspect of resin 3D printing is accounting for resin drainage throughout the printing process, which is why the model is oriented as shown below. While the supports may seem excessive, they are crucial to keeping the profile of the lens. Printing clear parts can be a tricky process when it comes to UV exposure time. Too little exposure will greatly affect the parts curing structure while too much exposure will begin to color it yellow.
Once the resin prints are complete, any supports are removed, washed in a 91% isopropyl rubbing alcohol, and cured in a UV light chamber to exposed any leftover resin. The resins used in this printing process can be very harmful when in contact with skin, therefore safety equipment such a nitrile gloves are required anytime your hands come in contact with the resin until fully cured.

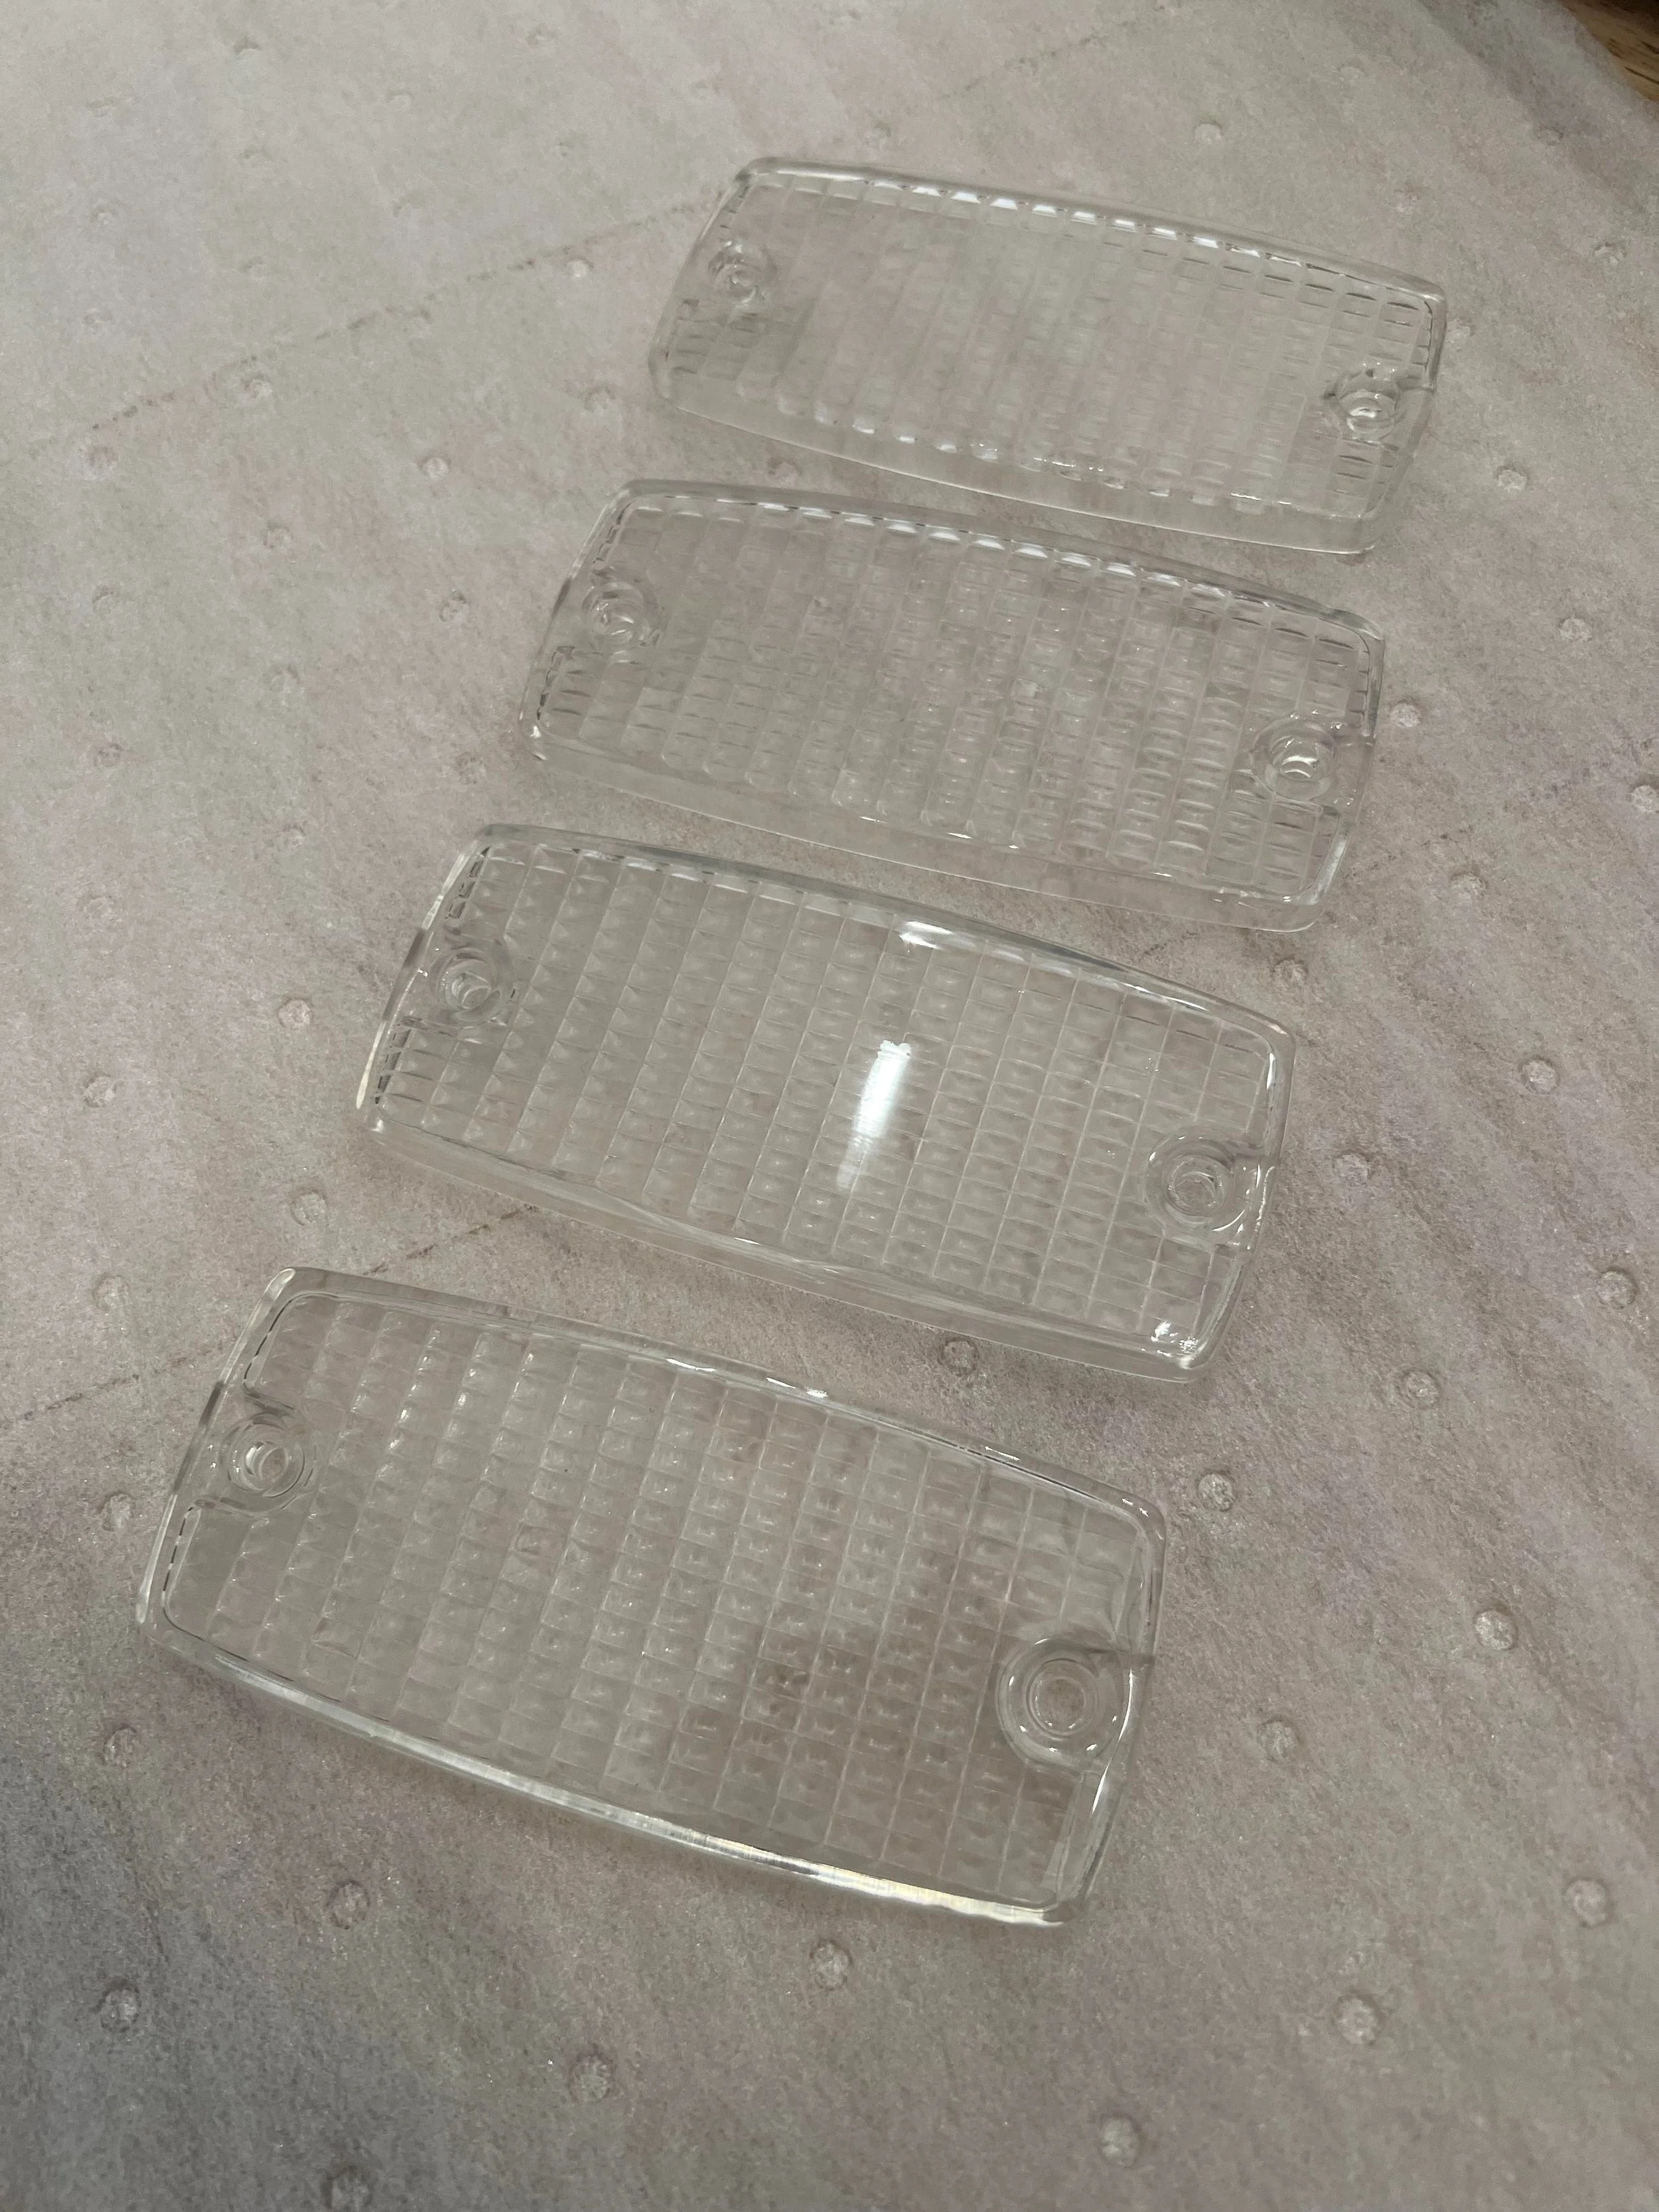
With the lens fully cured, they can now be prepared for clear coat. The clear coat is required to protect the lens from further UV curing when in an outdoor environment. Without clear coat, the lenses will yellow overtime and lose their clarity.
To prepare for clear coat, the lenses are wet sanded to remove any remaining support material and visible layer lines. The resin sands very easily and a higher grit sand paper such as 320 grit can be started with sanding up 600 grit. During this prep time, it is crucial to keep the lens from being exposed to UV light to prevent any further UV curing and coloring.
Once finished sanding, the parts must be cleaned with a wax and grease remover and sprayed with 3 to 4 coats of clear on the inside and outside of the lens.

Once sprayed, allow the clear coat to fully cure, which can take up to 24 hours. With practice, setup and a quality clear coat, it can be applied without texture, often referred to as “orange peel”. If orange peel does occur the clear coat can be wet sanded & buffed, but keep in mind that the clear coat cannot be completely removed to remain UV protected.

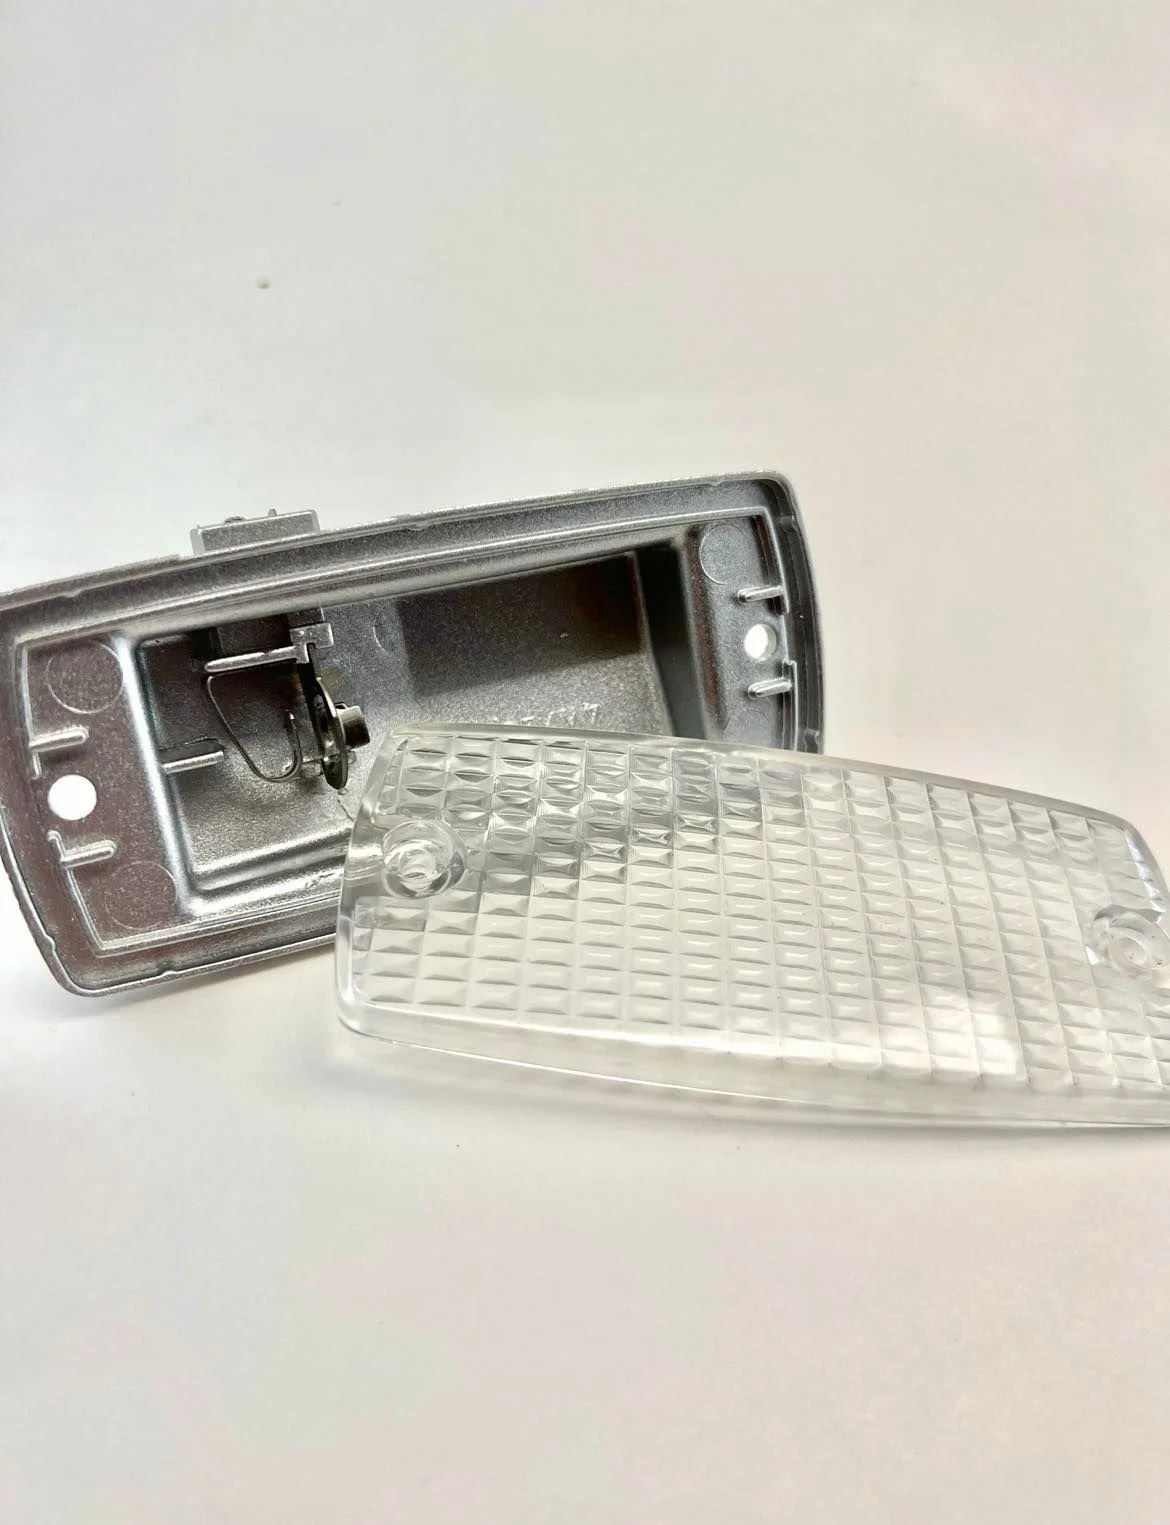
As shown in the original pictures at the beginning, the lens bodies are an off-white color. To compliment the new clear lenses, the bodies are disassembled, prepped and painted a bright silver color. This helps intensity clarity of the clear lens and completely changes the look. Once complete, the lens and body can be installed back into the original trim.


