Carbon Fiber Hood Duct
The classic M3 hood bulge is something that will forever steal purists’ hearts, but while it is very aesthetically pleasing it does not help draw hot air out of the engine bay.
With no great aftermarket options, it was time to create something that was both aesthetically pleasing and functional.
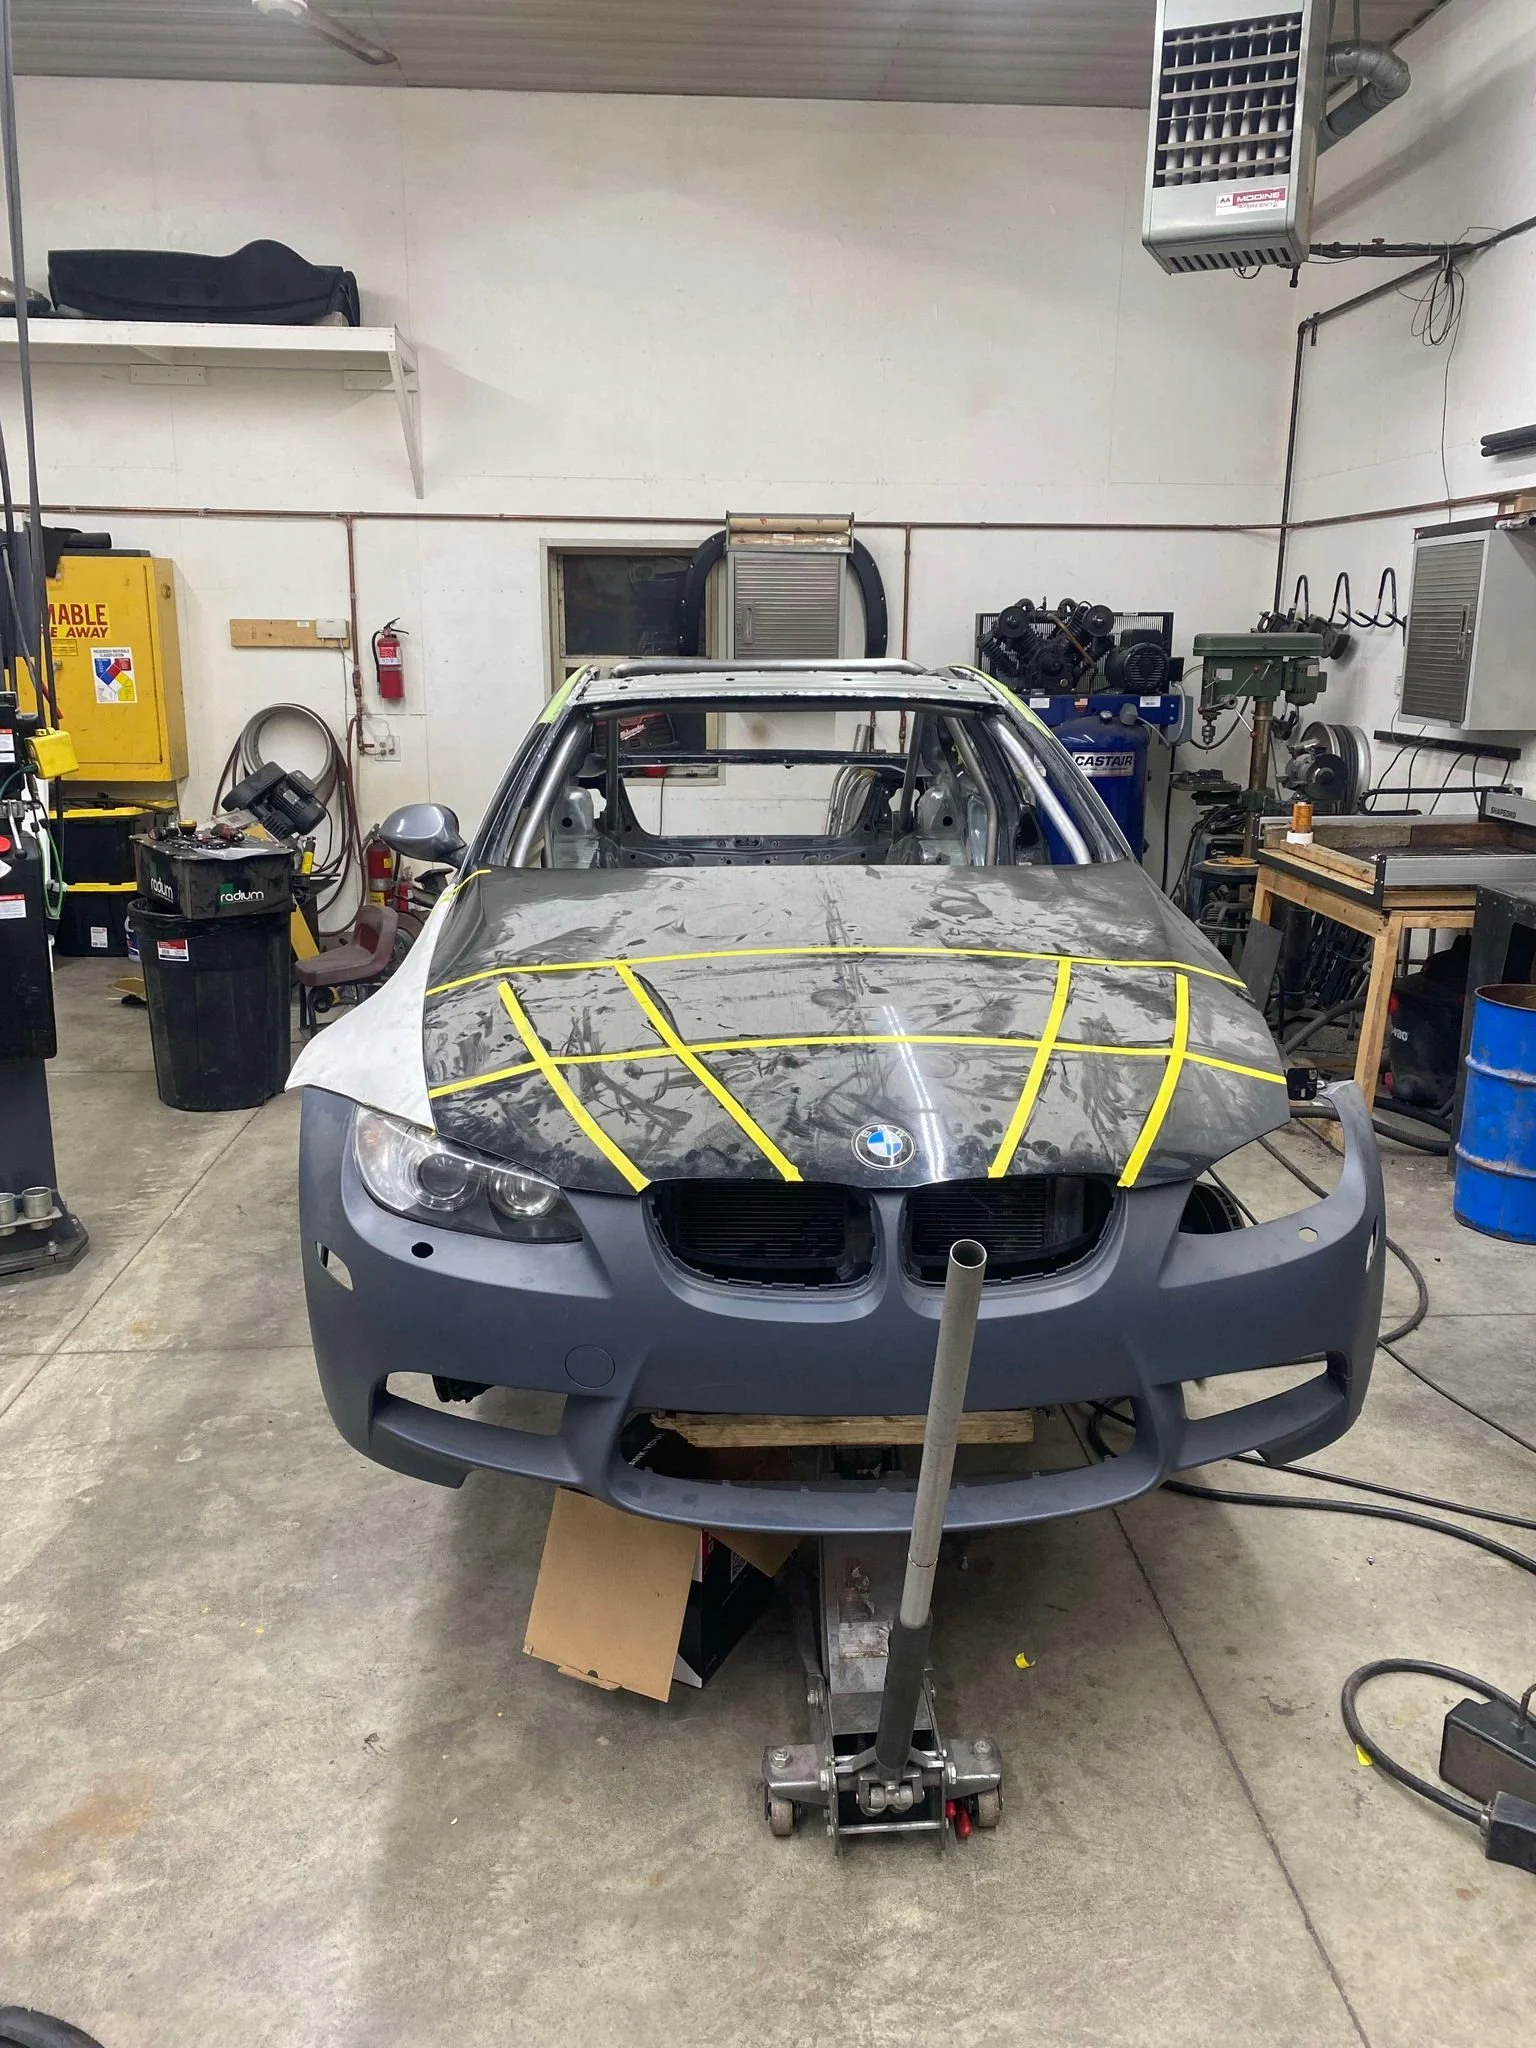
The first steps where to map out the available area, and get a scan of the hood profile. Once scanned, the area occupied by the duct was removed. This scan will be used to exact the hood surface for perfect fitment.
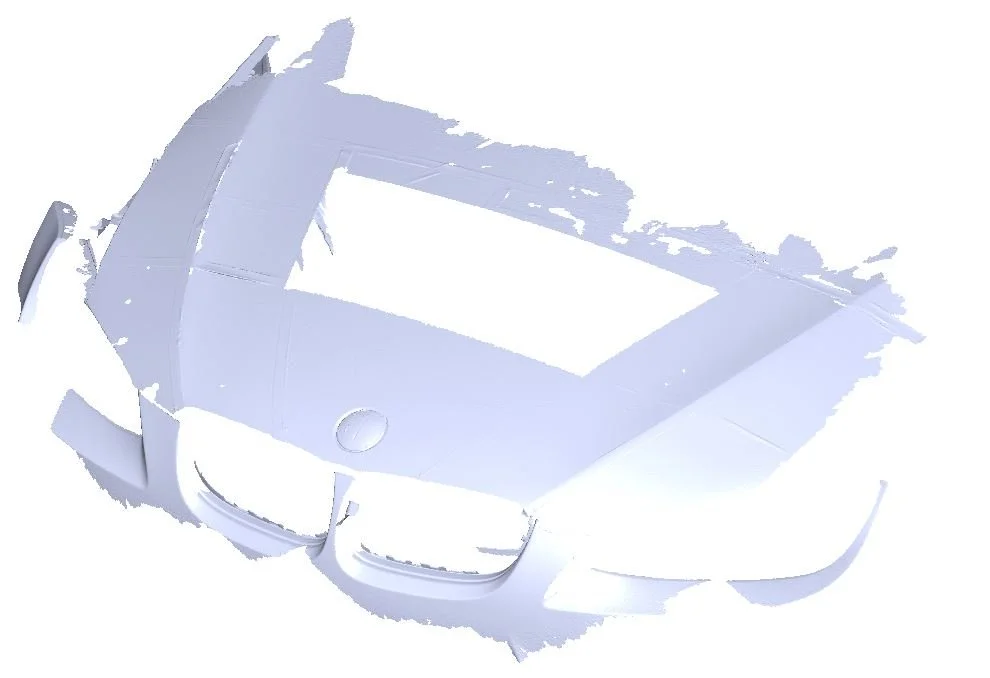
Using the hood surface scan data, the duct profile can be modeled. The model was started by using a series of surface features. Once the surface resembles the concept, a thickness can be added to it and additional features such as fillets are added.
Once the model is completed, it can then be inserted into the hood scan to get a exact idea of how the two will look together.
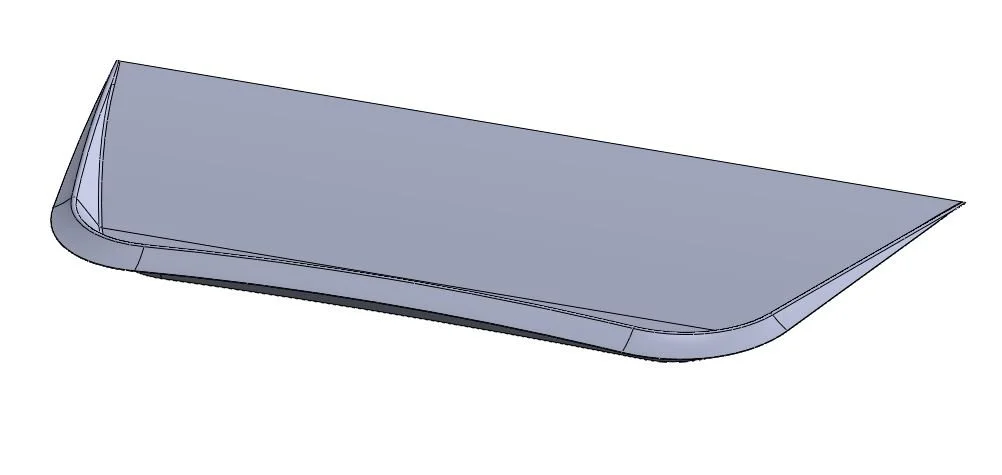
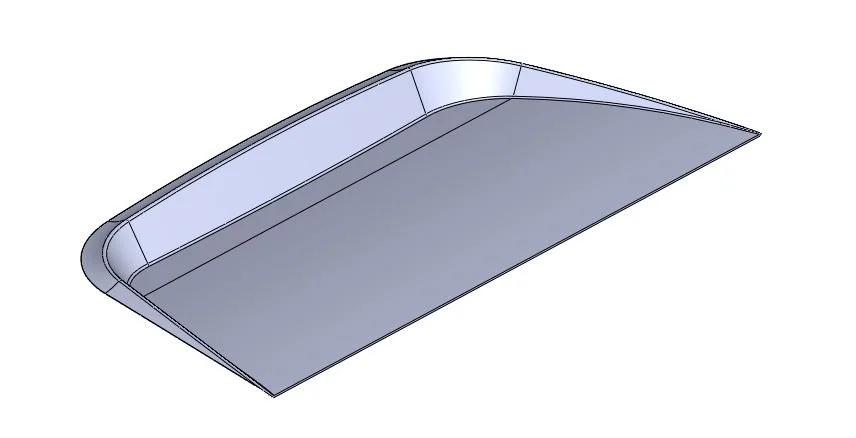
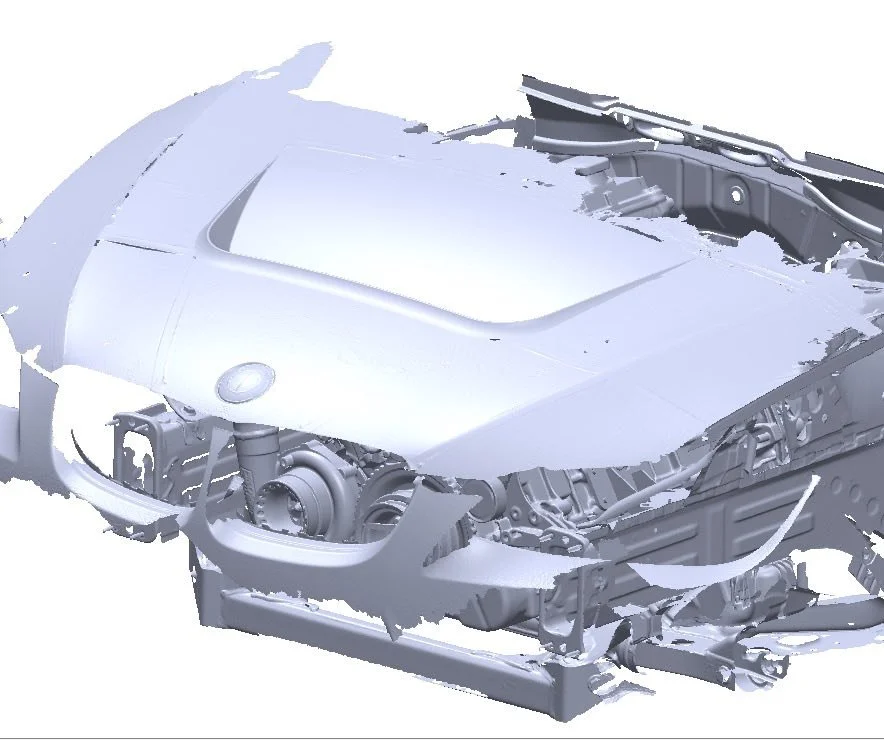
Once finalized, the hood duct surface can be used to create a model of the mold.
Because of the size, the mold had to broken up into sections that are then 3d printed and bonded together. The pieces were printed in PETG and bonded together with 3M Panel Bond. To help with alignment, the individual panels are modeled with dowel pins holes.
Once bonded the entire surface can be body worked smooth and finished with a layer of High Build Primer.
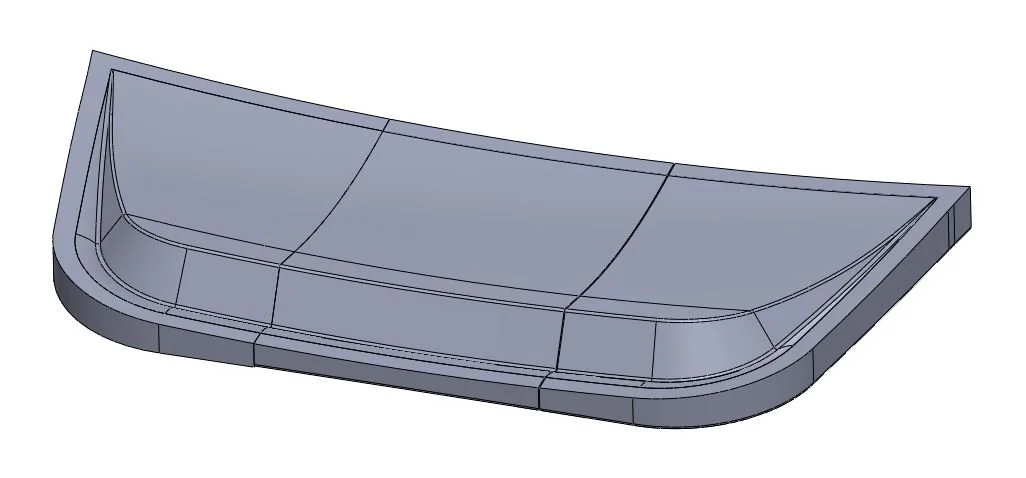


With the high build primer fully cured, the surface an be wet sanded up to 800 grit until all surface imperfections are removed. After sanding, the surface can be polished if desired. Polishing the surface will help with removing the panel from the mold.
To finish prepping to mold, I applied 3 coats of Wax and 3 coats of PVA. This step ensures that the panel will release from the mold once fully cured.
For construction, this panel was wet laid with 4 layers of 3K 2x2 Twill Weave Carbon Fiber and epoxy resin. Once all 4 layers are completed, the vacuum bagging procedure can be completed and left overnight to cure.


Once fully cured, the vacuum bag can be released, and materials removed.
Releasing the panel from the mold involves prying in a few areas using Tapered Wedges. Once released, the excess carbon fiber can be trimmed and edges sanded smooth.
With the hood duct trimmed, the hole can be added into the hood skin to accept the duct. Once trimmed the duct can be mocked up in the hood.

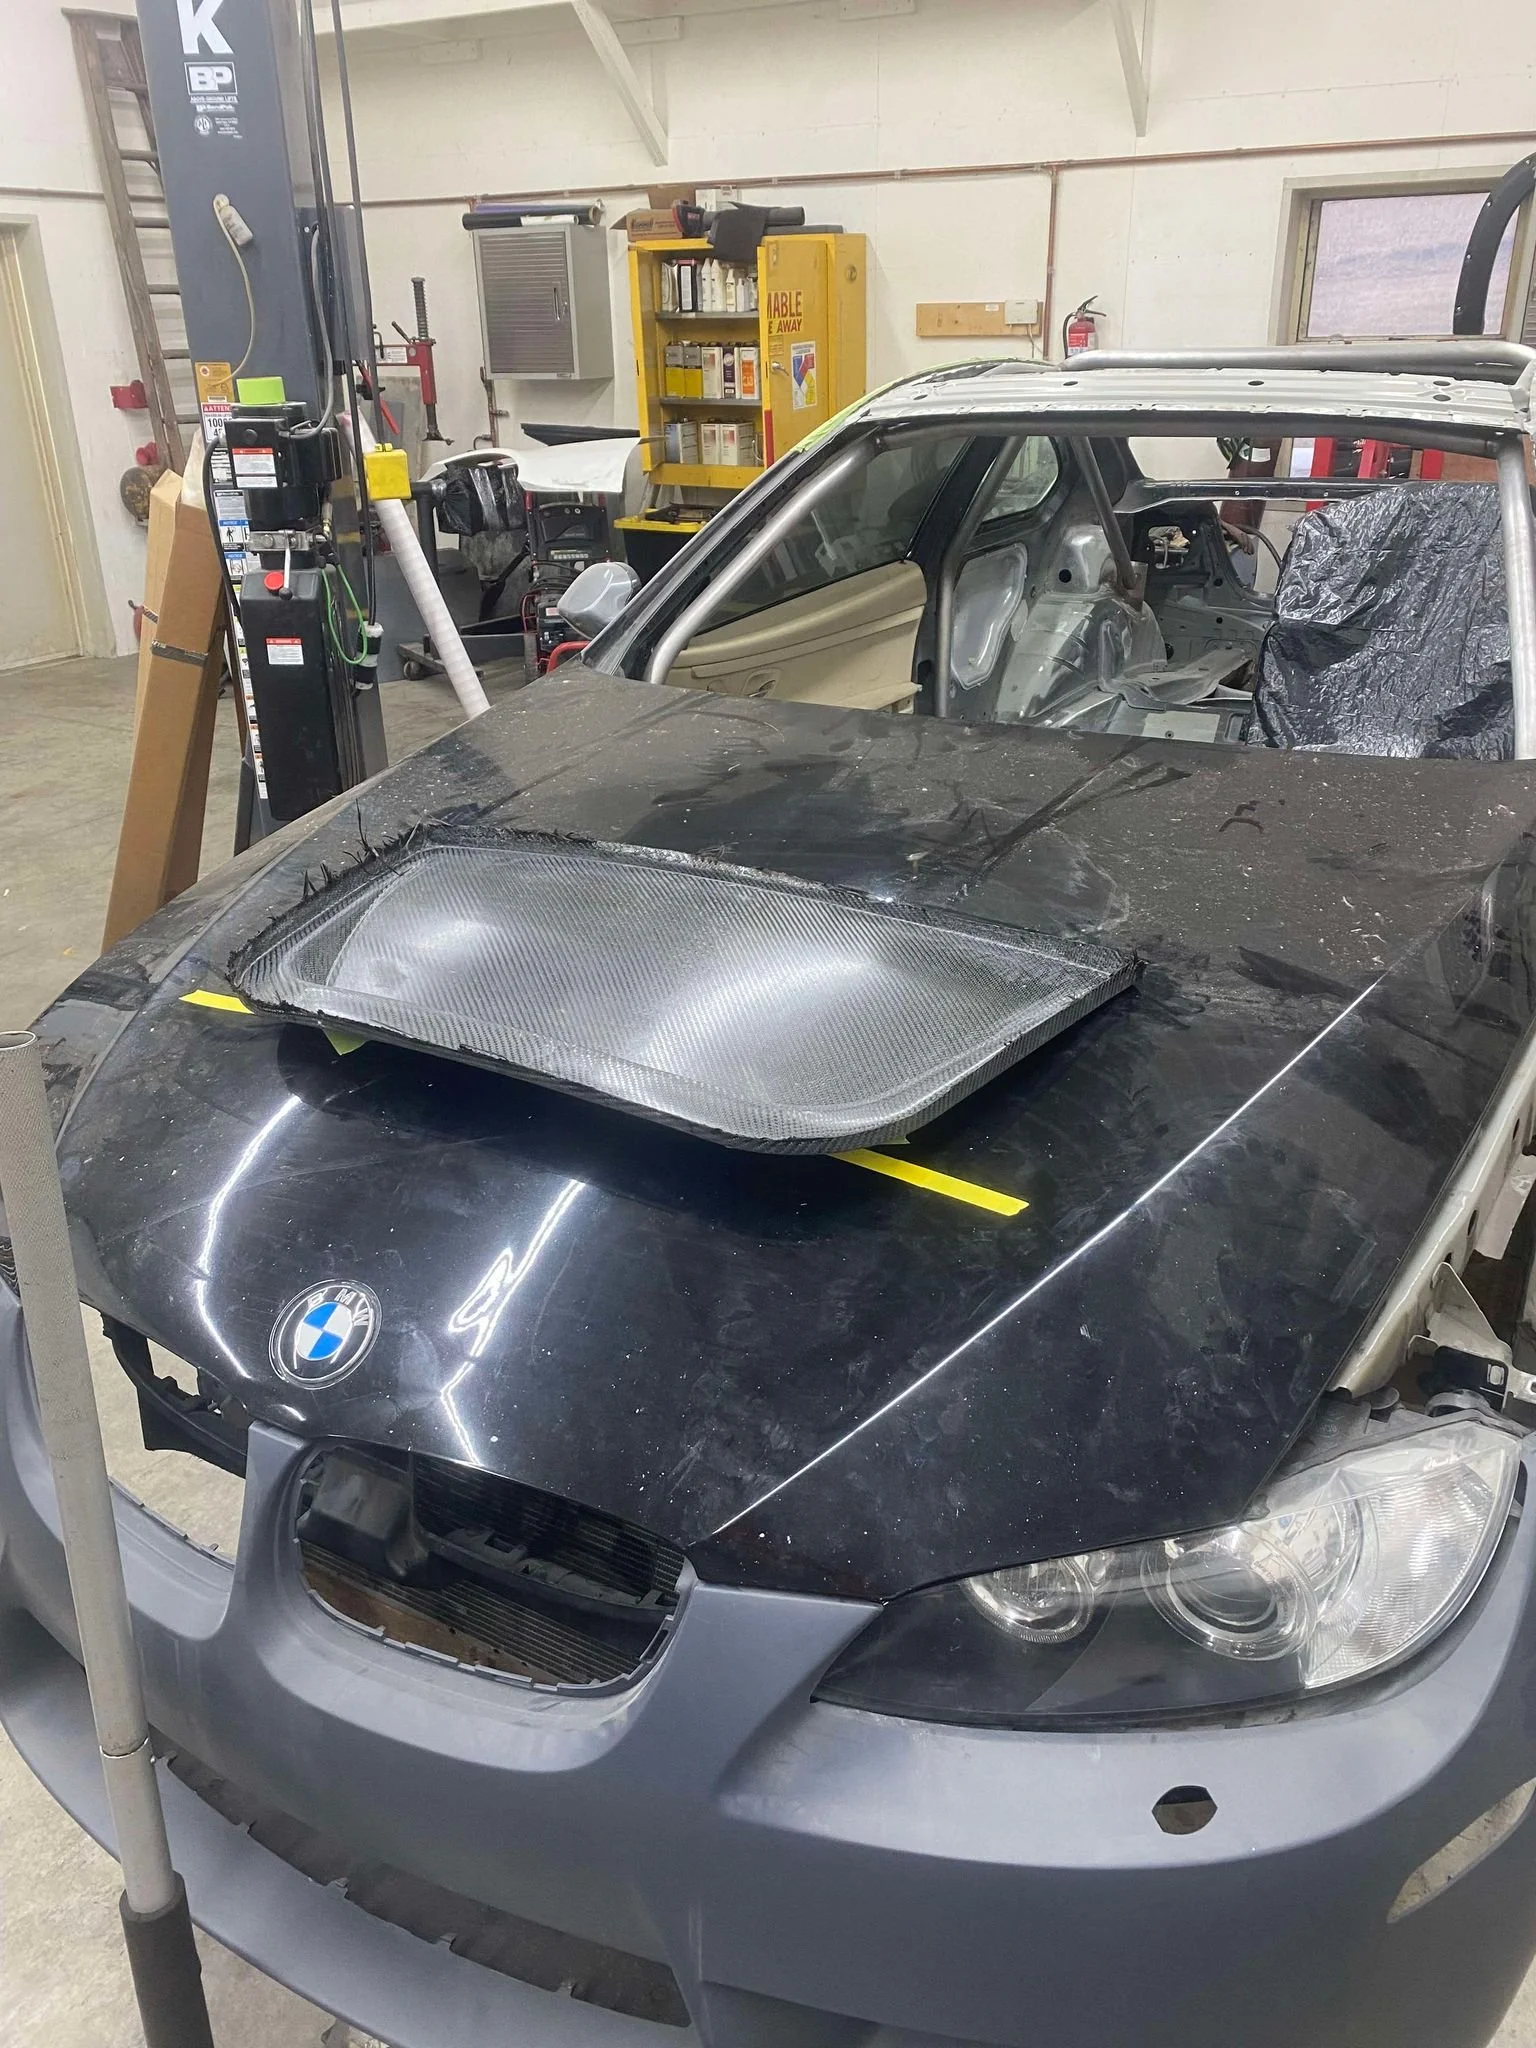


Eventually an opening will be trimmed into the hood duct to help remove hot air from the engine bay. The duct will also be panel bonded and body worked into the original hood skin to create a seamless transition. Once the body work is complete, the decision of painting or leaving the carbon fiber exposed can be decided.
