E30 Tube Front End
After five years of talking about doing a tube front, I finally did it. In 2019, at the last event of the season, my luck ran out and a small accident resulted in the front end shifting over three inches. On a positive note, the radiator, intercooler, and oil cooler all survived. A trackside frame rack involving blocks, hammers, and ratchet straps allowed us to shift everything back enough to finish driving the rest of the day.


Once I was back to the shop, the drivetrain was removed, and the car was put onto a frame rack to straighten the frame rails and strut towers. With the frame rails and strut towers straight, the front section was marked after the strut towers and subframe mounts were cut-off. Being able to leave the original strut lower and subframe mounting locations retains the original suspension geometry, retaining the same suspension components and drivability as before.


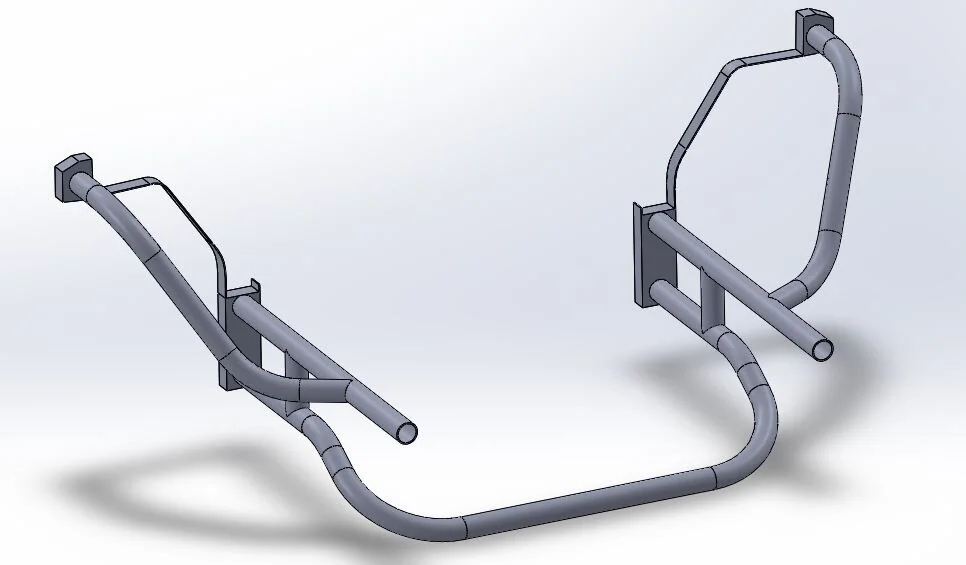
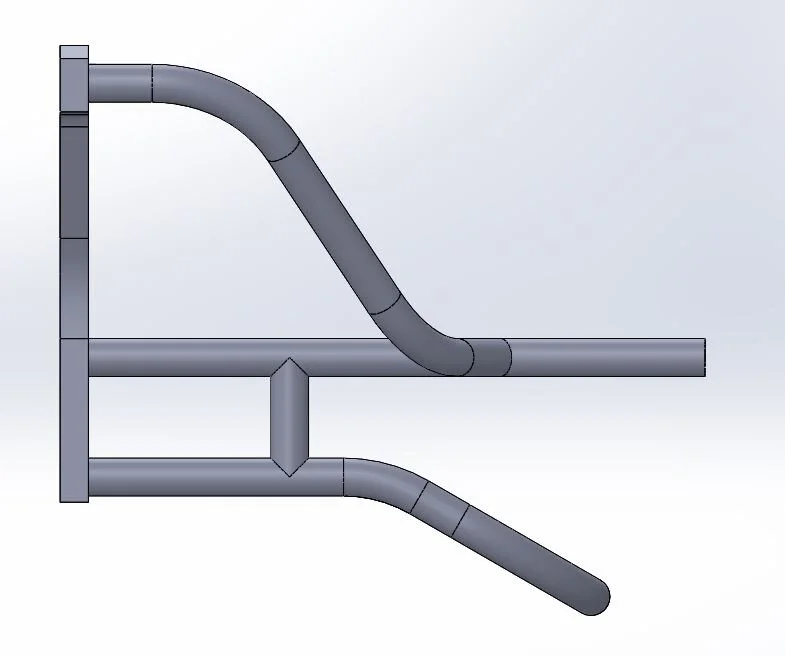
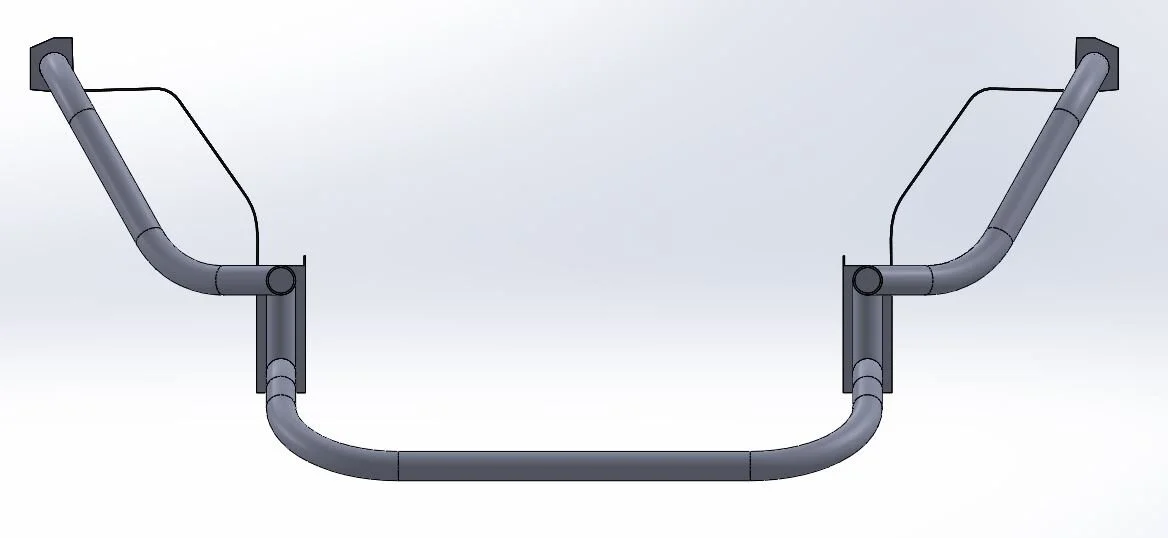
To start the modeling, factory upper and lower frame rails and wheel tub profiles were copied. Theses features are the base of the design to be built on. The beauty of 3D modeling is the ability to bring a vision to reality, without wasting materials. After a few concepts, I felt confident that the design was ready to transfer into metal. With the 3D model, all of the bend angles, locations, and offsets were predetermined.


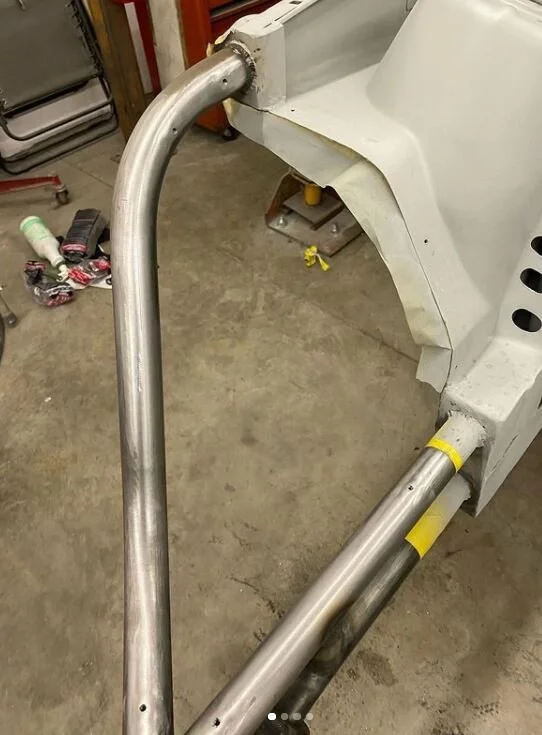
The upper and lower frame rails were capped with 11 GA. steel plate to create a strong mounting surface for the tubes. Along with the frame rail plates, the sheet metal joints were stich welded together and unused holes were patched to increase chassis rigidity. Once all of the tubes were nicely fitted without any gaps, the joints were welded together.


With the main structure complete, threaded spacers were added, allowing modular mounting brackets to be bolted onto. After welding the threaded spacers into the tubes, I ground the surface flush to create a seamless look.
Next, the bumper mounting brackets were designed, which hold the original crash bar. The mount is designed offset from the tube, creating a failure point to prevent the main structure from bending. The bumper brackets are designed to be cheap, easy to manufacture, and easy to replace.


Finally, a few thin coats of body filler were used to smooth out imperfections. This step is time consuming and labor intensive, but the results speak for themselves. After all the prep work, 2-3 layers of high build primer were applied to check and correct the body work of any imperfections and pinholes. After these corrections, the primer is wet sanded up to 400 grit, sealed, and painted with a 2 part base coat/clear coat paint job. Once finished, everything is left to cure for 24 hours, and then the surfaces can be unmasked.


